HOMEOWNER RESOURCES
Your Concrete Guide for
Residental Projects
Concrete 101
We’ve compiled a glossary of essential concrete terminology to educate homeowners with a thorough understanding of all things concrete. Our goal is to equip our customers with a solid foundation in concrete fundamentals, helping them better understand important parts of working with concrete. Explore our glossary below and don’t hesitate to reach out to our team if you have any inquiries.
Concrete is composed of four main ingredients: cement, water, fine aggregate (sand), and coarse aggregate (rock). Sometimes recycled cementitious materials known as slag and fly ash are substituted for cement, causing varying effects on the concrete’s plastic and hardened properties.
Admixtures can also be supplemented to the mix in order to reduce curing time, increase workability, increase strength, or to change the material properties. Varying proportions of these main ingredients are what create the many types of concrete.
Air improves the durability of concrete in environments that are subject to freezing, thawing, salts, ground water, and alkali reactivity. It also helps improve the workability of concrete.
These tiny air pockets relieve internal pressure on the concrete by creating chambers for water to expand into when it freezes. The percentage of air is typically between four and eight percent of the concrete’s total volume, but may vary depending on customer request and special conditions.
While concrete is an excellent material for building and has outstanding strength compression, it ranks weak in its tension. When concrete is combined with materials that have strong tension, such as steel reinforcing bar (rebar), wire mesh or fiber reinforcement it can resist tension and increase flexural strength.
Fiber reinforcement offers additional value with its three dimensional reinforcement controlling plastic shrinkage cracking, reducing segregation and managing bleed water. Fibers increase surface durability, impact and abrasion resistance.
Slump is the measure of concrete consistency and fluidity. It shows the flow and overall workability of freshly mixed concrete. Simply put, the higher the slump, the wetter the mix. Four-inch (4”) slump is very common with normal weight concrete and is good for pumping. Slumps that are above average will cause reduced strength, durability, and permeability of the concrete. Admixtures should be used instead of water to achieve higher slumps so that you can maintain the quality of your concrete.
The water-cement ratio is the ratio of the weight of water to the weight of cement used in a concrete mixture. This is critical to the overall quality of the concrete. A lower water cement ratio allows for increased compressive and flexural strength, reduced shrinkage cracking, lower permeability, and a better resistance to wear ad weather. However, this often decreases the workability of the concrete making it more difficult to place. Water-cement ratios typically range between 0.4 and 0.6. Lower water-cement ratios are used for higher strength concrete.
Weather plays a major role in the placement, finish, and lasting durability of concrete. Interior concrete is typically not exposed to natural changes of the environment and often does not require any air entrainment as it has less of a tendency to crack than exterior concrete. The major difference remains in the finish of the concrete.
Finishing exterior concrete too early (before the excess water has time to rise to the top) can trap the bleed water, setting the stage for other surface problems. Exterior concrete usually has a “rough broom” finish to provide traction for vehicles and pedestrians, reducing the chances of any slipping or falling.
Concrete is sensitive to temperature, setting quicker in hot weather and slower in cold weather. Admixtures are often added to slow the set time during hot weather (retarder) and to speed up the set time in cold weather (accelerator).
When pouring fresh concrete, hot weather may cause difficulties such as:
- Accelerated slump loss
- Increased set time
- Increased water demand
- Difficulties controlling entrained air
- Be careful when adding water to the concrete at the jobsite as it can adversely affect the concrete causing decreased strength, durability, and increasing the tendency to crack.
CONCRETE DIY
Our DIY guide will help you tackle your next concrete project by providing helpful tips and recommendations. We have you covered from project prep to completion. If you have additional questions, reach out to us so we can better assist you.
Shovel
Wheel Barrow
String Line
4’ Level, 2’ Level
Bull Float
50’ Measuring Tape
Hammer & Nails
Gloves
Protective Boots
Screed
6 mil Plastic
Concrete Spreader Rake
3/4” Clean Gravel
Wooden Stakes
Vibratory Plate Compactor
Magnesium FLoat
Jointer & Edger
2”x4” or 2”x6” Wood Boards
Prior to beginning “Call 811 Before You Dig,” to locate any underground utilities that may interfere with your project and make appropriate provisions.
Layout your project using grade stakes and string line. During excavation it is recommend to overdig the area. The overdig gives you room to work with your form setup and continued support of your base beyond the edge of your slab. The overdig should be equivalent to the depth of your excavation. The subgrade should be fairly level and compacted for a firm support prior to placing gravel base.
Forms should be pitched away from foundations at a rate of 1/8″ or 1/4″ per foot to allow proper drainage. Properly secure forms. When placing concrete it will add pressure and forms can bow if not adequately secured with reinforcing stakes.
Once your forms are setup recheck measurements to determine the amount of concrete for ordering – see our concrete calculator for assistance.
The type and amount of reinforcement will vary depending on the project. Fiber reinforcement offers 3 dimensional reinforcement and comes reinforced to the jobsite streamlining the process. Contact your local Concrete Supply representative for guidance.
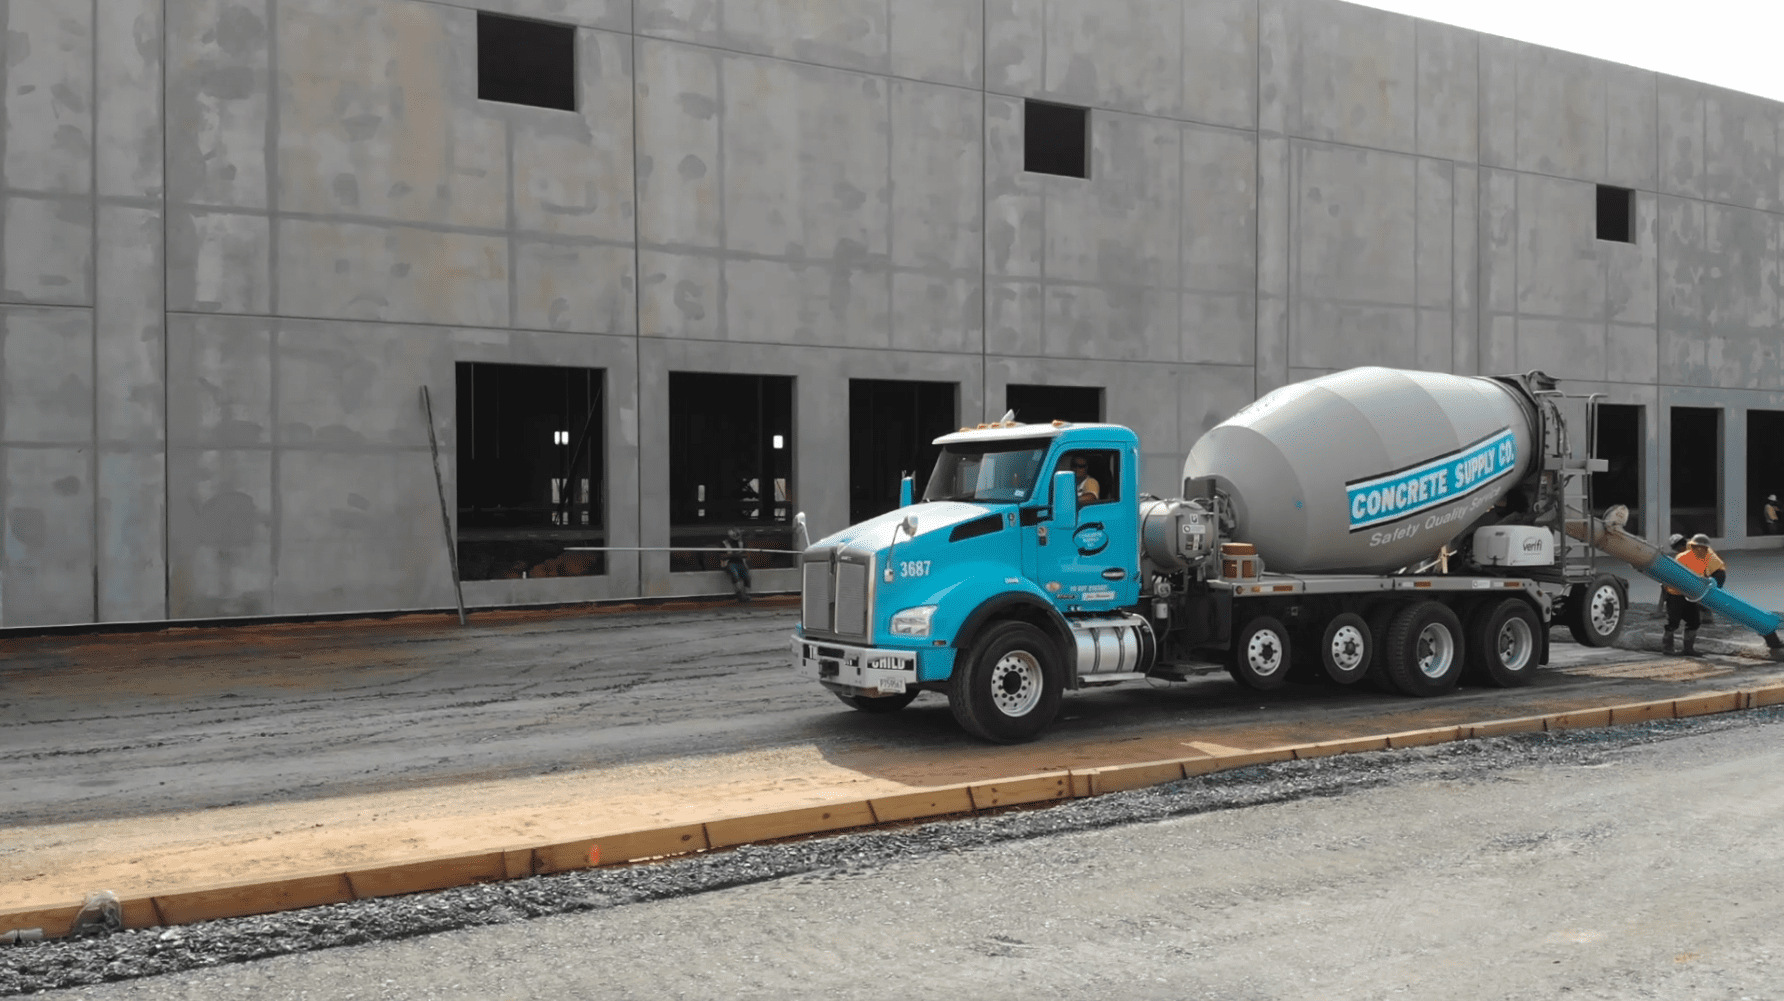
Proper planning and timing is critical. Under ideal conditions concrete should be placed and finished in about 1-1/2 hour (check with your local Concrete Supply representative for advice). A trucks ability to reach the placement area will move the process along quicker otherwise multiple wheelbarrows and manpower will be needed.
It’s a good practice to wet down your forms and base material prior to concrete placement to prevent materials from absorbing water from the concrete. Area should be filled just above forms. Then level off with a screed that can stretch across forms moving forward in a sawing motion. Next, use a bull float to fill any rough voids left from screeding.
Excess bleed water will work its way to the surface. Allow time for it to dissapate/evaporate from surface before proceeding to final finish. Using the magnesium float or a power scread will provide a final smoothing and “cream” of the concrete to the surface for a level, durable finish.
Create a nice edge with your edging tool. This will create a level and durable edge while improving the concrete’s appearance. For a non-slip surface a broom finish can be achieved.
Use a medium stiff or stiff bristle and pull in one direction. Make sure to overlap to continue the look. Control joints are created with a jointer. Spacing for control joints are 24 to 36 times the depth of concrete. Depth of the joints are 25% of the thickness (example: 4″ x 25% = 1″).
Proper curing can limit issues with the slab and may take several weeks to fully cure. Using the plastic pull tight removing wrinkles and secure edges with weight or staple to edge of forms. Once begun keep foot traffic off for 24 hours, light vehicles and cars for atleast 2 weeks.
For precautions in Handling and Storage refer to our SDS Sheet. Immediately after working with concrete, workers should shower with soap and water.
Concrete Calculator
To use the Concrete Volume Calculator, simply choose a shape and then enter the width, length, and thickness of your pour. The calculator will automatically estimate the number of cubic yards of concrete that will be required. Concrete is ordered by volume in cubic yards.
NOTE: This Calculator should be used as an estimating tool ONLY. CSC is not responsible for any discrepancies in material based on calculations made with this application.
Choose a shape
Tips For Ordering Concrete
Measurements can frequently be a little off, so we highly recommend ordering a little extra, because coming up short can be a disaster. A good rule of thumb is take your calculation and add 4% to 10% to the total to account for waste, spillage, over-excavation, settlement, spreading of forms, loss of entrained air or any other changes in volume. Concrete can be ordered in ½ yard increments.
Slump is a measure of the consistency of the concrete. A 4 inch slump (the measure of the distance a wet concrete cone will fall) is typical. If you want more slump, it is always safest for the concrete to adjust slump at the plant. Adjusting slump at the job site will damage the concrete. Adding just 1 gallon of water per cubic yard can decrease compressive strength 150 to 200 psi, waste cement and increase shrinkage by 10%. This is especially a problem for concrete that might be exposed to freezing and thawing conditions.
Strength is most commonly measured by the designed compressive strength in pounds per square inch (psi) of a hardened cylinder of concrete. Any slab exposed to freeze-thaw conditions should be a minimum of 4,000 psi.
Entrained air is little bubbles of air primarily to increase the durability of the hardened concrete to freeze-thaw conditions. Any exterior slab in our climate should have air entrainment.
Do you need aggregate (stone or gravel) for the project? Do you have the concrete tools that you need? Our professional customer service representatives and our Concrete Store Representatives can help you make sure you are prepared, just call 704-372-2930.
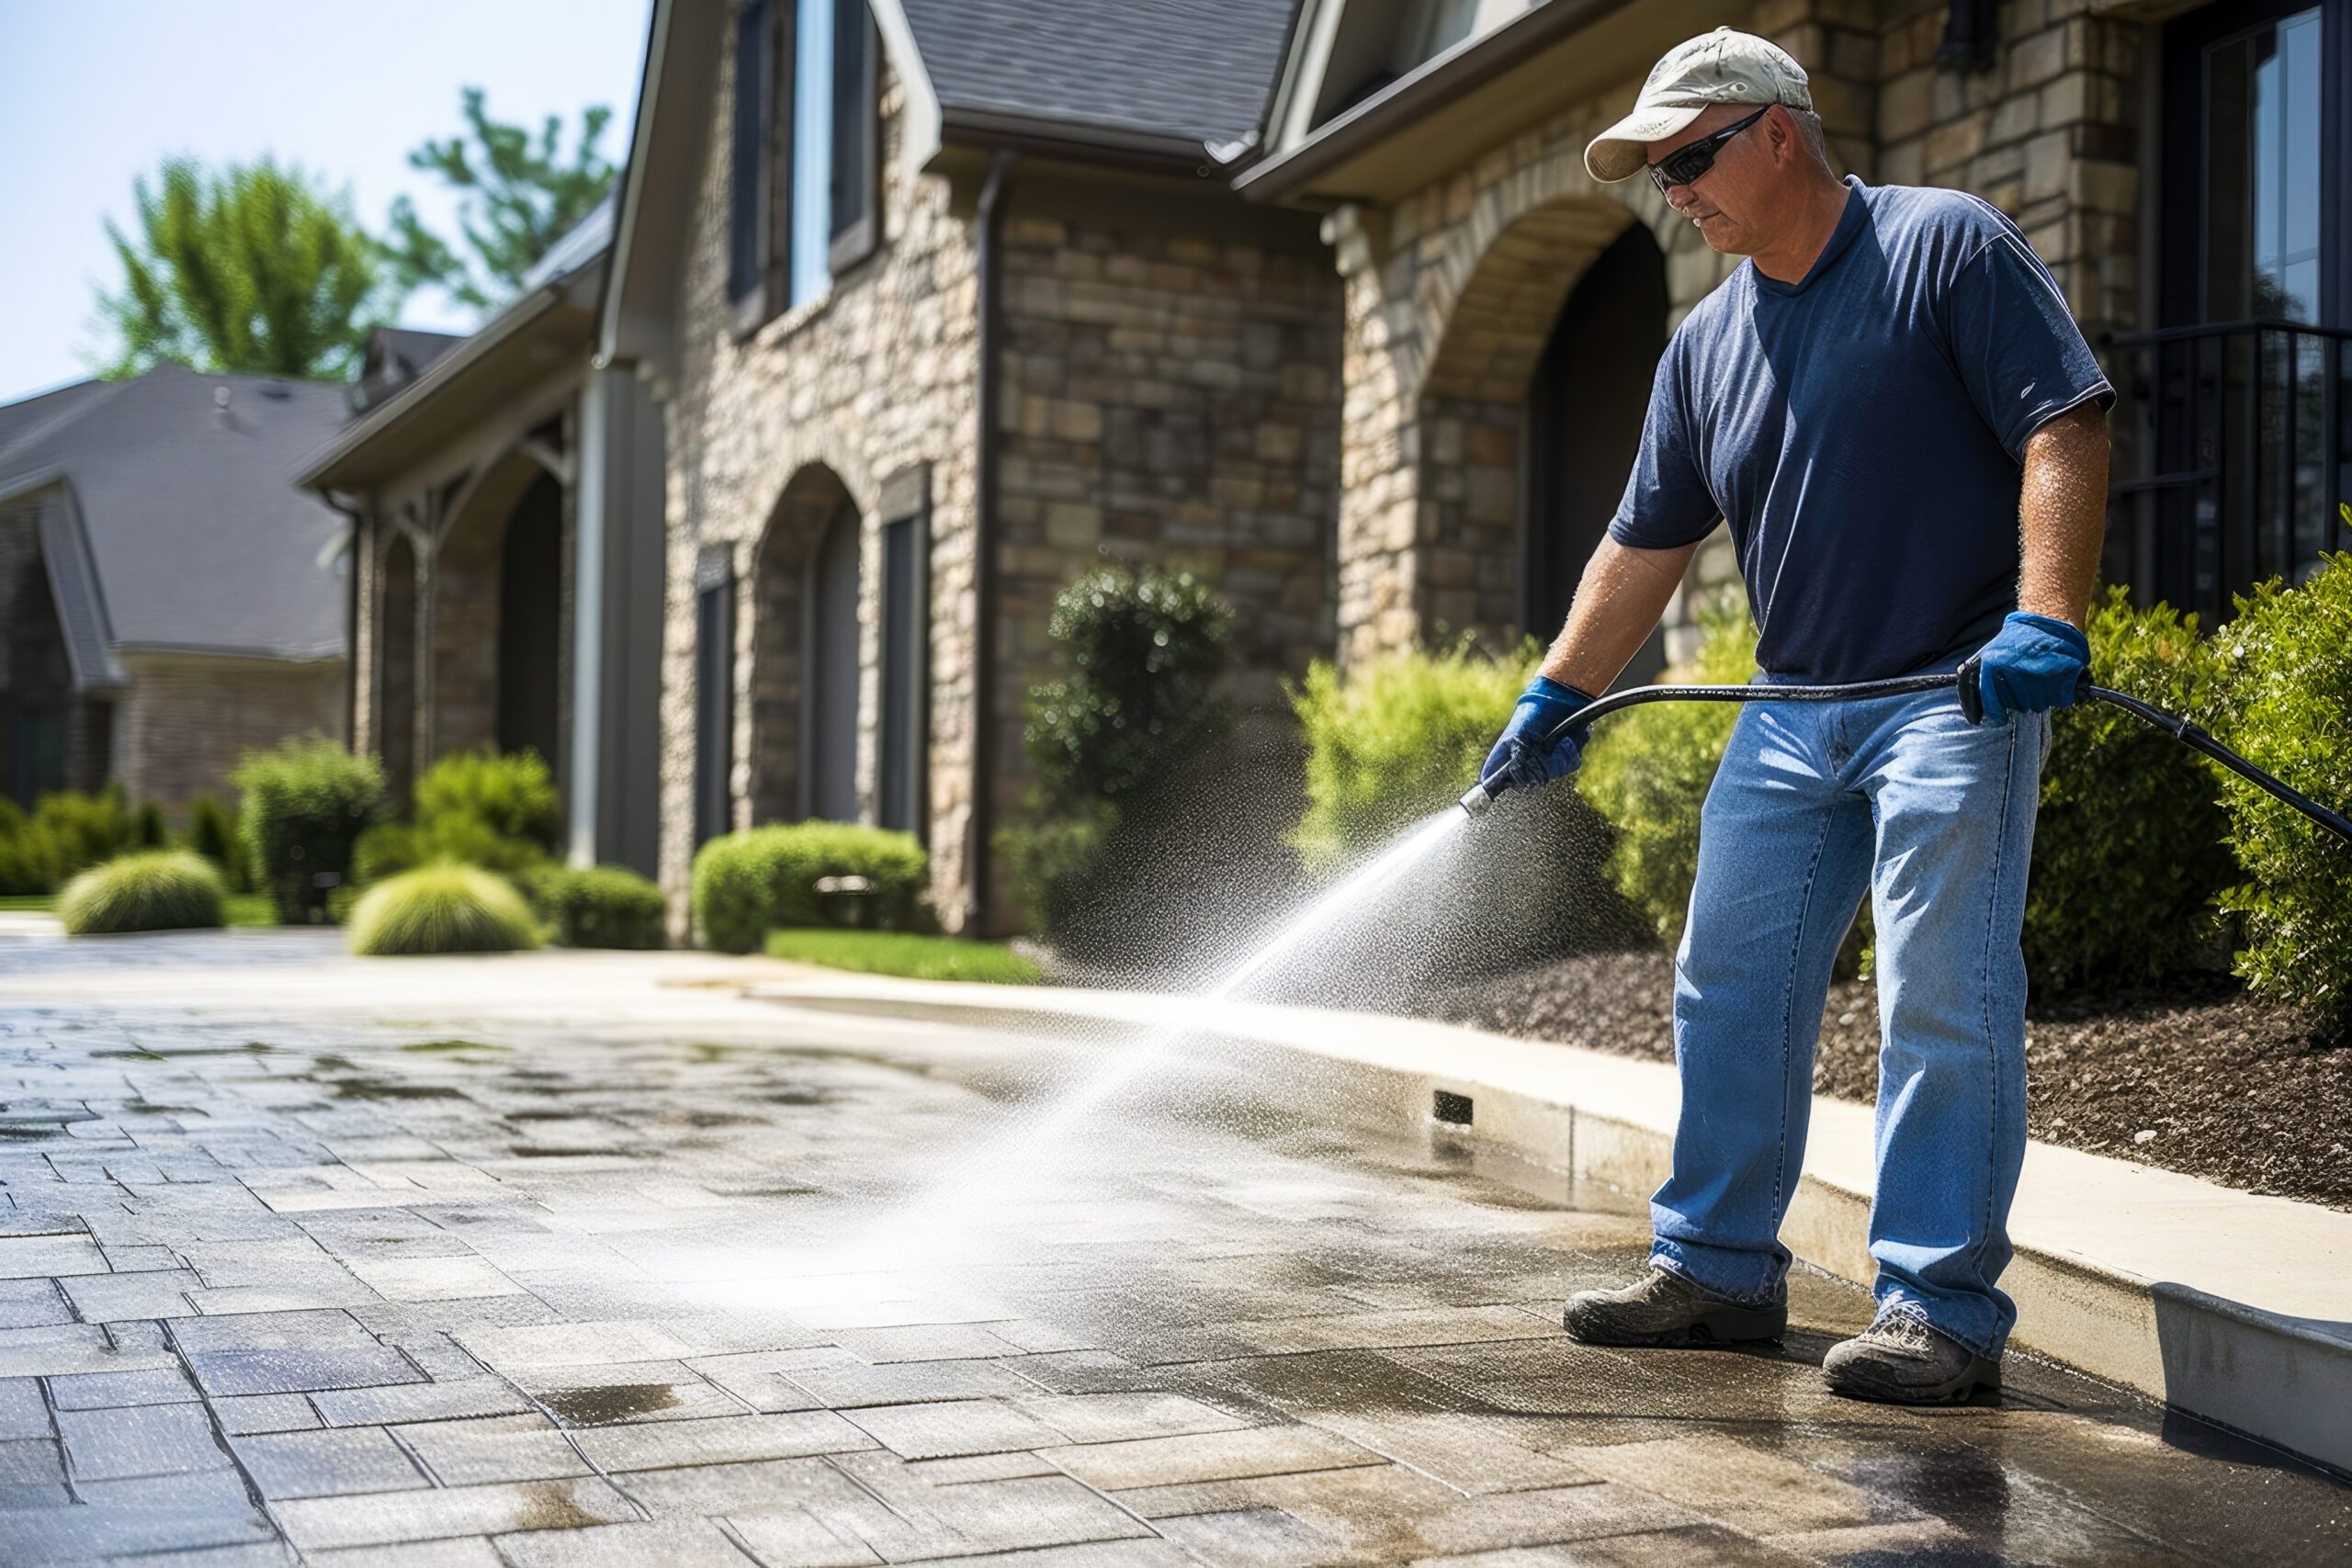
You will need to provide a washout area for the truck after it is finished pouring the concrete. This should be a contained area that would not allow liquids to seep into surrounding areas. A wheelbarrow or other container is often the easiest to supply.