Monthly Archives: November 2018

//November

Cold Weather Concreting 101

Cold Weather Concreting Is Possible When Certain Precautions Are Taken

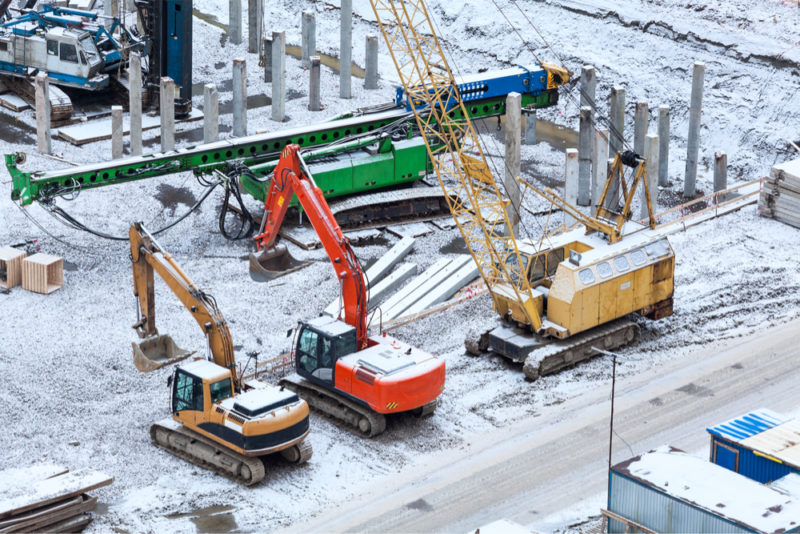
Construction doesn’t stop–it’s a year-round industry. This means concrete mixes, pours and placements are needed all year and cannot come to a halt due to less-than-ideal weather conditions.

While concrete can be mixed and poured during the cold weather, there are many things to keep in mind which we plan to detail throughout this blog.

  • First, we’ll explain what can go wrong while pouring concrete in cold weather conditions.
  • Then, we’ll discuss how your ready mix provider can help you overcome the problems associated with cold weather concreting.
  • Finally, we’ll warn you of the mistakes we frequently see when it comes to cold weather concrete pouring and tips to avoid making those mistakes.  

Before we start, we feel it’s important to all get on the same page as to what exactly “cold weather” is considered.

The ACI or American Concrete Institute says in their ACI 306R-10 “Guide to Cold Weather Concreting that “cold weather exists when the air temperature has fallen to, or is expected to fall below 40℉ during the protection period*.” So if you find yourself grabbing a jacket on your way out the door, consider the air temperature before mixing, pouring, or placing concrete.

*The “protection period” is defined as the time required to prevent concrete from being affected by exposure to cold weather.

The Two Biggest Problems Cold Weather Concreting Creates

Now, there are two big problems you’ll face when pouring concrete in cold weather.

Problem #1

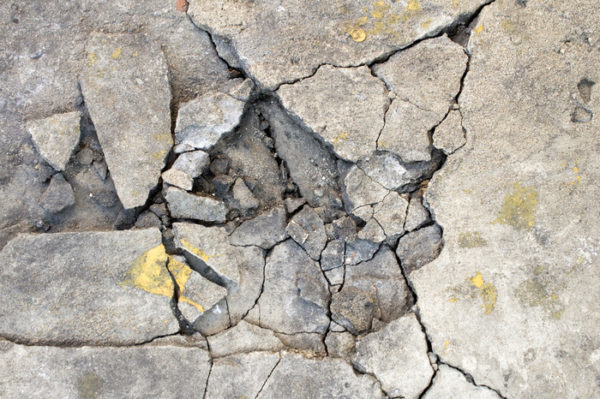
Concrete must be protected from freezing at an early age. If concrete freezes prior to reaching an initial strength of 500 psi it will not achieve its intended strength.

A general rule to keep in mind is that once the concrete has gained a strength of about 500 psi, it can withstand the effects of one freezing-and-thawing cycle. Exterior concrete should be air entrained and at the minimum required strength prior to exposure to multiple freezing-and-thawing cycles.

Problem #2

Concrete sets more slowly when it is cold but especially slow when temps are below 40℉. Below 40℉ the hydration reaction basically stops and the concrete will gain strength at a very slow rate.

To help your concrete reach that 500 psi strength ASAP, your ready-mix provider can add to (or change-up) the mix in ways that will get it to set more quickly. Those mix add-ins and changes are explained further below.

Mix adjustments alone can only do so much and its possible additional precautions are required to provide temporary heat prior to, during and after a concrete placement to aid in maintaining the concrete temperature once in place.

Mix Changes Your Ready-Mix Supplier Can Make To Help Your Cold Weather Concrete

Many of the problems experienced with cold weather concrete pouring can be overcome with an experienced ready-mix producer’s assistance. A concrete mix can be manipulated in ways that allow it to set and strengthen quickly.

  • Hot water – As temperatures get colder most producers can start using hot water in the mixing process when requested to meet a minimum placement temperature.
  • Slump – The slump required from any ready-mix is dependent on a variety of things. A slump that is less than 4 inches can reduce bleeding. Since the concrete sets slowly in the cold, bleeding starts later, lasts longer, and you’ll see more bleed water.
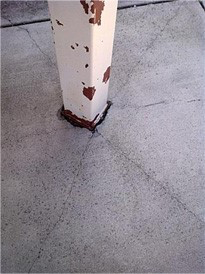
  • Accelerators – Accelerators keep setting on a somewhat predictable schedule. Often times you’ll see the use of calcium chloride to speed up the hydration reaction. But consider this–calcium chloride can lead to corrosion of any steel embedded in the concrete and it can lead to a streaked and spotted surface appearance with colored concretes.
  • Non-chloride accelerators – Non-chloride accelerators are readily available and must be used any time there are embedded metals such as reinforcing steel. Non-chloride accelerators are also appealing because they don’t discolor concrete.

*Please note that accelerators should not be considered antifreeze agents. They work to increase the rate of the hydration reaction–not prevent freezing.

  • Fly ash –  Fly ash or slag cement may cause the mix to set slower and generate less heat compared to a straight cement mix. Your ready-mix producer will have straight cement options available upon request.
  • More internal heat – To make the reaction hotter, mixes with higher cement contents can be requested. You may consider ordering a concrete that is one or two classes higher in strength. The use of Type III cement may also be an option based on availability which is typically limited to larger metropolitan areas. Your mix’s internal heat can be used to your advantage, and you’ll see why a little later on in this article.

A quality concrete mix design is crucial for success in construction. At Concrete Supply Co. we believe in our ready-mix designs and their ability to help you achieve a successful cold weather concrete placement.

Avoid These Common Mistakes with Cold Weather Concreting

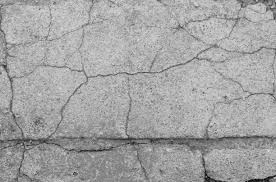
1. Placing concrete on a frozen ground

measuring ground temp

Concrete should not be placed on ground that is frozen or covered with ice or snow as it will have an immediate and long-term impact on the performance of the concrete. A frozen or cold subgrade will slow the set by lowering the in place concrete temperature reducing the effect of the hot water and/or accelerating admixtures when used. Frozen ground may also settle once thawed leading to potential settlement cracks.

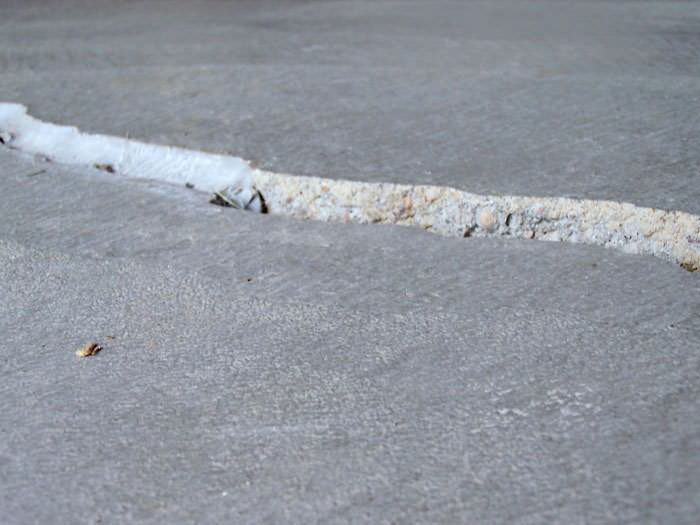
2. Allowing concrete to freeze

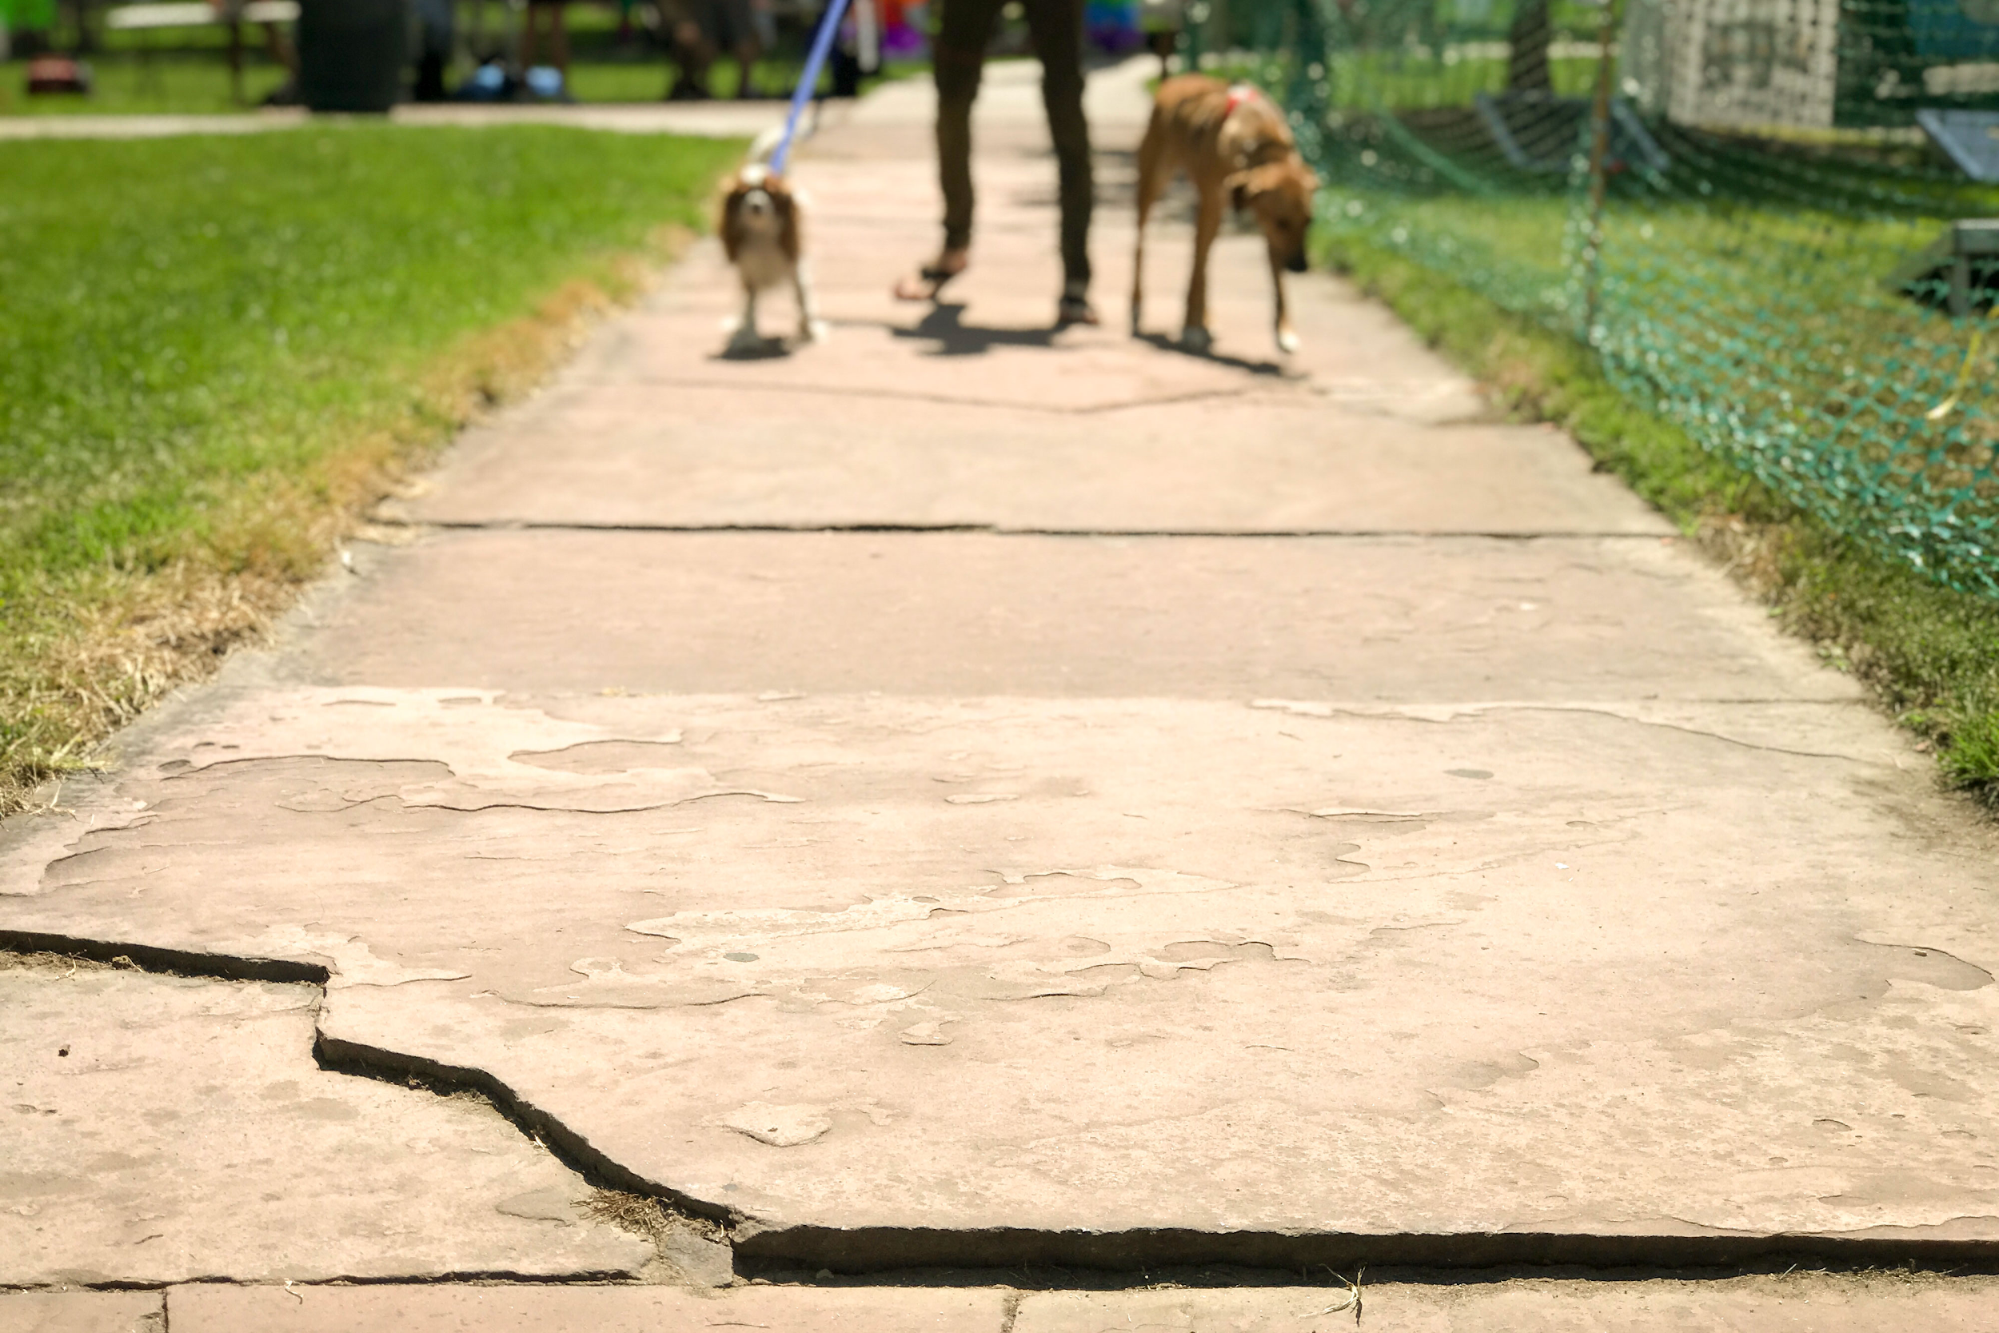
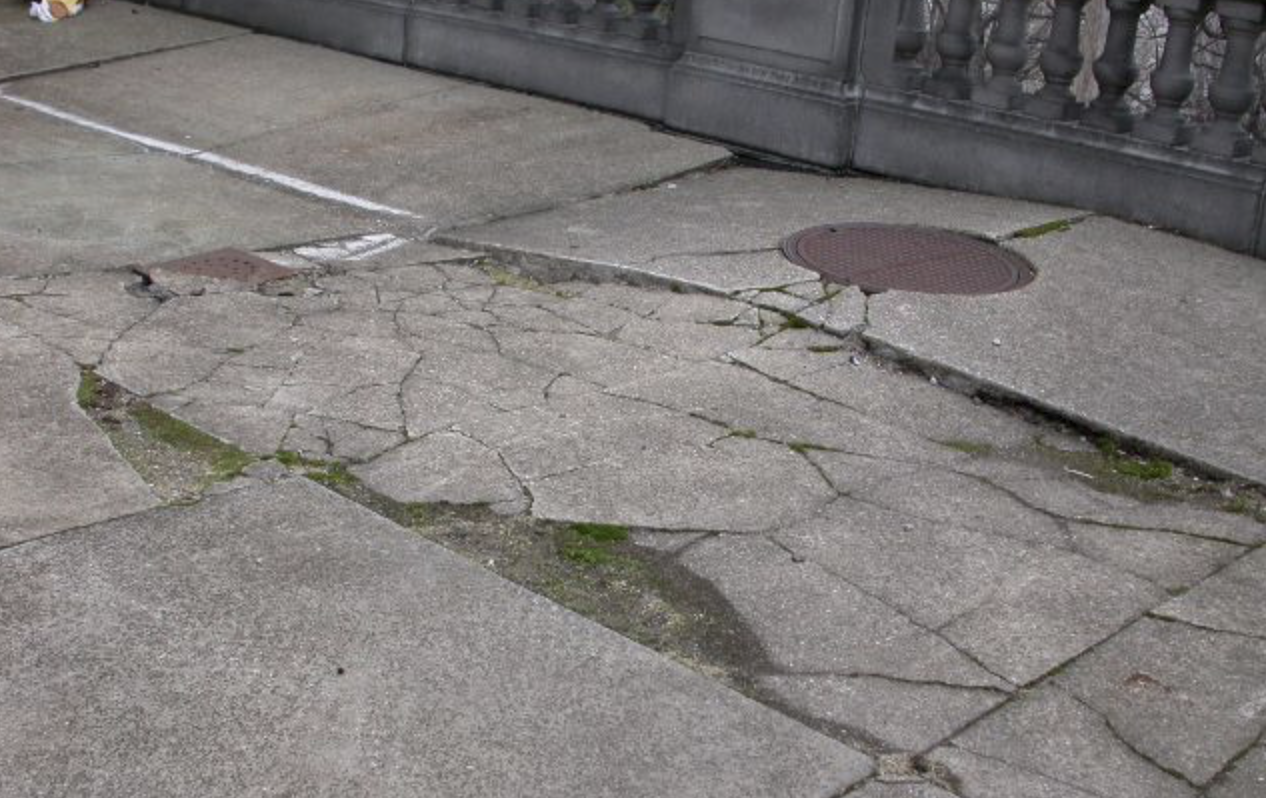
Think about it this way, water takes up more space in its ice phase than it does in its liquid phase. So when the water used in your mix freezes, it expands, causing damage to the concrete. Do what you can to ensure your pour sets fast enough to prevent freezing. Additional precautions to prevent the in place concrete from freezing may be needed during the protection period.

3. Not taking advantage of heating techniques (or using them incorrectly)

Many times, heating techniques are used to prevent concrete from freezing (mistake #2). When it comes to flatwork, the best way to protect concrete from the cold is to cover it with blankets after it’s been finished. This is where you should take advantage of the heat concrete generates on its own. Blankets will keep your concrete warm even if the temperature goes below 20℉. Use layers of blankets at corners and edges that could freeze.

If blankets aren’t enough, try laying heating blankets on top of the slab or using hydronic heating pipes to keep the slab from freezing.

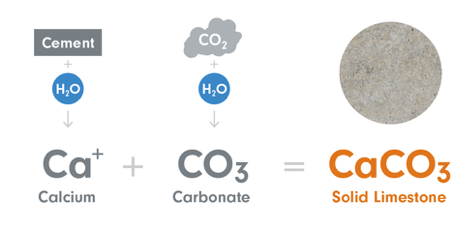
Still not enough? Enclose and heat the air with a temporary enclosure. While this option comes with its own problems and can run a pretty penny, it is sometimes your only option if the concrete pour has to happen. Be especially careful when using fuel-fired heaters. If your enclosure isn’t properly ventilated, carbon dioxide can build up and react with the concrete, causing the surface to become weak and dusty.

These same blankets used to protect the in place concrete after the placement can also be used to prevent the subgrade from freezing the day or night before the placement providing a warmer subgrade leading to faster set times.

4. Using cold materials

Not only is it important to ensure your mix, the ground, and the air are warm enough, the materials (forms, embedments, and tools) you use for cold weather concrete pouring should also be above freezing and close to the delivered concrete temperature if possible.

At Concrete Supply Co., we have experience with all types of ready-mixes, even mixes that will stand up to freezing conditions. If you need to pour concrete this winter, download our Get The Best Mix For Your Project Concrete Checklist, and be sure to specify that you’ll be looking to pour your mix during cold temperatures.

And remember, concrete can be poured during cold weather and develop sufficient strength and durability to satisfy requirements when the proper precautions are taken. A mix that is properly proportioned, produced, placed, and protected will survive the cold weather.  

cold weather concrete site
2019-02-11T10:40:24-04:00

6 Types of Concrete Cracks and What They Mean

Six Common Types of Cracks in your Concrete

When you see a crack in your concrete slab or wall, your first assumption is typically that something has been done wrong–but that’s not always the case. Actually, concrete cracks are very common, some are even inevitable.

American Concrete Institute touches on the issue of cracking concrete in their American Concrete Institute manual, ACI 302. 1-40:

“Even with the best floor designs and proper construction, it is unrealistic to expect crack-free and curl-free floors. Consequently, every owner should be advised by both the designer and contractor that it is normal to expect some amount of cracking and curling on every project, and that such occurrences do not necessarily reflect adversely on either the adequacy of the floor’s design or the quality of its construction

We explain 6 of the most common types of concrete cracks below.

1. Plastic shrinkage concrete cracks

When concrete is still in its plastic state (before hardening), it is full of water. When that water eventually leaves the slab, it leaves behind large voids between the solid particles. These empty spaces make the concrete weaker and more prone to cracking. This type of cracking happens frequently and is referred to as “plastic shrinkage cracking”.

While plastic shrinkage cracks can happen anywhere in a slab or wall, they almost always happen at reentrant corners (corners that point into the slab) or with circular objects in the middle of a slab (pipes, plumbing fixtures, drains, and manholes). Since concrete cannot shrink around a corner, stress will cause the concrete to crack from the point of that corner.

plastic shrinkage cracks

Plastic shrinkage cracks are typically very narrow in width and barely visible. While nearly invisible, it is important to remember that plastic shrinkage cracks don’t just exist on the surface, they extend throughout the entire thickness of the slab.

An excessively wet mix is a contributing factor to shrinkage in concrete. While water is an essential ingredient in every concrete mix, there is such a thing as too much water. When the mix contains too much water, the slab will shrink more than if the correct amount of water was used. Hot weather is another big reason for plastic shrinkage cracks.

Control joints can be incorporated into the slab to prevent shrinkage cracking. The joints will open up as the concrete slab gets smaller.

2. Expansion concrete cracks

expansion cracks

Just like a balloon, heat causes concrete to expand. When concrete expands, it pushes against anything in its way (a brick wall or adjacent slab for example). When neither has the ability to flex, the expanding force can be enough to cause concrete to crack.

Expansion joints are used as a point of separation (or isolation), between other static surfaces. Typically made of a compressible material like asphalt, rubber, or lumber, expansion joints must act as shock absorbers to relieve the stress that expansion puts on concrete and prevent cracking.

3. Heaving concrete cracks

heaving cracks

When the ground freezes, it can sometimes lift many inches before thawing and settling back down. This ground movement brought on by the freezing and thawing cycle is a huge factor contributing to concrete cracking. If the slab is not free to move with the ground, the slab will crack.

Large tree roots can have the same effect on a slab. If a tree is located too close to a slab, the growing roots can lift and crack the concrete surface. Always consider this when laying a slab.

4. Settling concrete cracks

settling cracks

On the other hand, ground settling below a concrete slab can also cause cracking.

Settling cracks typically occur in situations where a void is created in the ground below the concrete surface. Think about when a large tree is removed from nearby and the roots begin to decompose or when a utility company digs a trench for their lines, pipes, etc. and don’t compact the soil when they refill it–these are examples of instances where settling cracks are likely to happen.

5. Concrete cracks caused by overloading the slab

overloading cracks

Although concrete is a very strong building material, it does have its limits. Placing excessive amounts of weight on top of a concrete slab can cause cracking. When you hear a concrete mix has a strength of 2000, 3000, 4000, or 5000+ PSI, it is referring to the pounds per square inch it would take to crush that concrete slab.

When it comes to residential concrete slabs, overload of the actual slab isn’t all that common. Instead, what is more likely to occur is excess overload on the ground below the slab.

After a heavy rain or snowmelt when the ground below is soft and wet, excessive weight on the slab can press the concrete down and result in cracks. Residential homeowners who place large recreational vehicles or dumpsters on their driveways are more likely to see this type of cracking.

6. Concrete cracks caused by premature drying

premature drying cracks

There are two common types of cracks brought on by premature drying.

Crazing cracks are very fine, surface cracks that resemble spider webs or shattered glass. When the top of a concrete slab loses moisture too quickly, crazing cracks will likely appear. While unsightly, crazing cracks are not a structural concern.

Crusting cracks typically happen during the concrete stamping process, which is a way of adding texture or pattern to concrete surfaces. On sunny or windy days where the top of the slab dries out quicker than the bottom, the top of the concrete surface can become crusty. When the stamp is embedded, it pulls the surface apart near the stamped joints and causes small cracks around the outside edges of the “stones”. Again, while they don’t look great, crusting cracks are not a structural issue to be considered about.

It’s often difficult to determine exactly what caused a particular crack. Proper site preparation, a quality mix, and good concrete finishing practices can go a long way towards minimizing the appearance of cracks and producing a more aesthetically pleasing concrete project.

We can’t stress the importance of a quality mix design in concrete crack controlling. Read our Concrete Checklist: Get The Best Mix For Your Project, which will guide you and your concrete supplier towards creating the best mix for your concreting project.

concrete cracks
2019-02-11T10:39:41-04:00

Home Construction Safety Tips

Reduce The Risk Of An At-Home Construction Project Accident With These Safety Tips

A survey by the National Safety Council revealed that 26 percent of homeowners who completed a DIY home improvement project experienced some type of injury to themselves or someone else in their household. We have to wonder, were they taking the correct safety precautions in order to avoid these accidents?

With the National Center for Health Statistics identifying accidental injury as the third highest cause of death in the US–accidental injury is not a risk that should be taken lightly. With the rate of accidental injuries increasing every year, it’s more important now than ever before to take steps that ensure the safety of you and the people around you.

Taking basic steps towards safety can significantly reduce the risk of an accident (or worse) occurring during an at home construction project, DIY project, or home improvement renovation. Check out our home construction safety tips:

Know How Each Piece Of Equipment You’re Using Works

Read over the manual on each piece of equipment you plan to use for your project. This is especially important for power equipment, which when used incorrectly can lead to serious accidents.

TIP: Check YouTube for a visual tutorial on how a piece of equipment works and its safety features.

Be On The Look-Out For Misplaced Objects

Tools and other materials left unsecured are accidents waiting to happen. Frequently, tools and other objects left on top of ladders, set on framing, or left unattended on roofs are the culprits behind falling object injuries. Tools and other building materials left on the ground can lead to falls or punctured feet.

TIP: Pay attention to how often you leave tools and objects lying around. We think you’ll see it happens quite frequently.

Minimize Your Chances Of A Back Injury

Back injuries are very common on many types of construction sites–even at home, in the backyard, or in your garage.

TIPS:

  • Do not lift more than you can handle. When a load is too heavy, ask for help.
  • Keep your back straight, knees bent and the load close to your body when lifting to minimize strain on the back.
  • Lift with your legs, not with your back.
  • Never twist your body when carrying a heavy load. Think about pivoting your feet and not your spine.
  • Make sure your paths are clear of hazards that might cause you to trip, slip, or fall.

Practice Ladder Safety

Of the almost 500,000 falls from ladders that occur annually, 97 percent occur at home. For such a useful piece of equipment, ladders can certainly be dangerous. Luckily, you can avoid most accidents with some good ladder safety techniques–and a little common sense.  

TIPS:

  • Face the ladder while climbing it.
  • Always carry tools in your toolbelt holster or pouch–not in your hands.
  • Always maintain three points of contact while climbing (one hand and two feet or two hands and one foot).
  • Set the ladder on a firm and level base.
  • If you must place your ladder in front of a door, make sure it is locked.
  • Make sure the ladder you use is the right height for your job.
  • Remember, the top two steps are not the safest place to stand.
  • Fully open stepladders and lock spreaders in place.
  • Use ladders with non-slip feet.  

Wear The Necessary Safety Gear

Of the 26 percent of homeowners who admitted to injuries from their DIY home projects, 41 percent said their injuries were the result of not wearing protective gear. Protective gear can prevent your body from a number of injuries:

  • Safety helmets: Protect your head from falling objects by properly wearing a good quality hard hat. When the hard hat is not on your head, be sure to take good care of it. Never leave it in the window of your car as sunlight can weaken its strength and cause damage.  
  • Eye protection: Protect your eyes from dust and other damaging particles with full-cup, side shielding, shatterproof safety eye protection. Avoid wearing contact lenses on the job site as chemicals, gases, or dust may get under them and cause irritation or even damage to the eyes.  
  • Ear protection: Protect your sensitive ears from loud and repetitive noises. There is no cure for hearing loss so take precautions to avoid damage.
  • Safety footwear: Keep your feet safe from falling objects, crushing hazards or punctures from sharp objects with steel-toed safety boots.
  • Knee pads: Avoid “bad knees” with a pair of knee pads.
  • Safety gloves: Look after your fingers with a high-quality pair of gloves.
  • High visibility vest: Be sure you’re seen especially on sites that aren’t lit well or where you could potentially blend into your surroundings.

Check The Health Hazards

Eliminate the risk of accidentally poisoning yourself and others by keeping chemicals like paint thinners and corrosive cleaners out of reach. Make sure chemicals and cleaners are tightly sealed, and only use when wearing protective gear (like goggles, work gloves, and a ventilation mask).

Whenever you get started on a maintenance or restoration project, check to see if the home or area you’re working on has a history of hazards such as led or asbestos.

Know When To Ask For Help From A Professional

Just because you can complete a DIY project doesn’t mean you should. Leave the dangerous and risky projects to the professionals. Professionals have the equipment, experience, and safety protocols to get a project done the right way and accident-free.

Make Safety A Priority When Dealing With Concrete

Contact with wet concrete can cause skin irritation, severe chemical burns, and serious eye damage. Skin exposure to concrete may be associated with allergic contact dermatitis.

TIPS:

  • Wear waterproof gloves, a long-sleeved shirt, full-length pants, and proper eye protection when working with concrete.
  • If you must stand in wet concrete, wear waterproof boots that are high enough to keep concrete from getting into them.
  • Wash any concrete, mortar, cement, or cement mixtures from your skin immediately.
  • Flush your eyes with water immediately after contact and see medical attention if necessary.
  • Take indirect contact, like through clothing, seriously–often it can be just as damaging as direct contact.

Have a DIY concrete project you’re planning to start soon? First, check out our handling and storage safety data sheet.

Then head over to our Get The Best Ready Mix For Your Project Concrete Checklist which contains expert advice on how to make your next concrete order process easier and faster, a PSI Index to gauge the strength needed for your next concrete project, and a step-by-step guide to walk you through considering need-to-know features like consistency and durability.

at home construction hard hat for safety
2019-02-11T10:38:19-04:00

How CarbonCure Technology Is Taking The Concrete Industry From Gray To Green

The Impact CarbonCure Technology is Having on the Concrete Industry

Seven percent of the world’s carbon dioxide (CO2) emissions come from cement production. One US Government agency revealed that global cement production was responsible for about four billion pounds of CO2 emissions last year alone.

Cement is the primary–and most widely used–ingredient in concrete. As a result, these emissions are often blamed on the concrete industry.

The government endorsing environmental stewardship programs encourages architects and designers to reduce both the operational and embedded footprint of buildings. While this is a great step towards change, there’s still more that can be done! There are options for designers and architects that don’t just benefit the environment but the structure itself too. 

During a United Nations summit on Climate Change in 2007, Rob Niven saw a global need for less carbon emissions.

Rob Niven said, “The scientific community understands that CO2 can be chemically converted to a mineral within concrete. So why can’t we find a way to use CO2 in every-day concrete and help concrete producers respond to the demand for green building products?”

That same year, Rob Niven founded CarbonCure with a goal of reducing the carbon footprint of the concrete industry.

Today, CarbonCure is at the forefront of a movement to turn carbon dioxide into a valuable commodity–concrete!

The progress CarbonCure has made over the last ten years will change the concrete industry as we know it. We like to say, CarbonCure is taking the industry from gray to green–not literally, but definitely for the better!

How CarbonCure Recycles Co2 to Make Better Concrete

CO2 utilization is an innovative process in which industrial CO2 is captured and used to manufacture valuable products. CarbonCure is the only commercial CO2-utilisation technology currently serving the concrete sector.

CarbonCure’s CO2 utilization technology injects a precise dosage of carbon dioxide (generally between 1-5 fl oz/cwt is recommended) into ready-mix concrete and concrete masonry products, where it chemically converts into a mineral.

The use of CO2 in concrete shows no effect on the mix’s fresh properties–set-time, slump, workability, pump-ability, air content, temperature, and finishing. Or on the hardening properties of the mix–pH, freeze-that, density, color, texture, and durability.

Sourcing CO2

Sourcing CO2 is not the hard part. Third party gas suppliers collect CO2 from industrial emitters then purify, liquefy, and distribute it.

Ready-mix producers are able to store CO2 necessary for production at their plant in a refrigerated, pressurized tank which is refilled regularly by the gas supplier. When discharged, the CO2 is a mixture of gas and a solid white powder.

The Reaction

When CO2 is injected into a ready-mix, it reacts with calcium ions in the cement. Eventually this forms a nano-sized calcium carbonate mineral that becomes permanently embedded in the concrete.

This answers most people’s biggest question about CarbonCure: “Will the CO2 ever escape?” Once the CO2 is converted into a mineral, it cannot escape because it no longer exists.

This permanence is a huge sustainability advantage for CarbonCure technology. With almost all other applications, CO2 makes its way back into the atmosphere. CarbonCure will never be released into the atmosphere as a greenhouse gas.

As we said, the concrete industry’s future just went from gray to green!

See the reaction explained in the diagram below.

CarbonCure_ConcreteIndustry

The Green Future With CarbonCure

The CarbonCure vision is to “make the introduction of CO2 into concrete standard for all concrete production across the globe”.

A world in which CO2 is sourced from cement plants and used by concrete producers to create stronger and greener concrete is now the biggest goal.

The beneficial reuse of CO2 industry is expected to become a $1 trillion industry by the year 2030 according to The Global CO Initiative (GCI).

CO2 utilization products for the concrete sector alone have the potential to reduce up to 1.4 gigatonnes of annual CO2 emissions by 2031. A greener concrete industry is possible.

Concrete Supply Co. is onboard with the change CarbonCure is helping the concrete industry achieve, now what about you? CarbonCure provides FAQ pages to answer all of your questions–whether you are a contractor, engineer, or designer.

Is being eco-friendly a concern of yours when ordering a ready-mix from your supplier? Check sustainability on our Concrete Checklist: Get The Best Ready-mix For Your Project, and plan to use CarbonCure technology with your next mix.

carbon cure technology
2019-02-18T15:59:43-04:00